Basic System Tools
Lesson 0
Part 6. Emmet and Beautify
Emmet? Who Dat?
Emmet is a very powerful extension to VS Code that comes already built-in. Emmet has way more features than we are willing to explain here. To explain every possible feature in Emmet would require a separate crash course. Nevertheless, it is important to know that Emmet exists, and to see a few of the remarkable tasks that Emmet can perform for you.
To see the beauty of Emmet, let's create a new project folder in our HTML Crash Course folder called testing. It can be an empty folder, so we can get some practice at creating files inside our project folders. Once that folder is created, we can open the empty folder with VS Code.
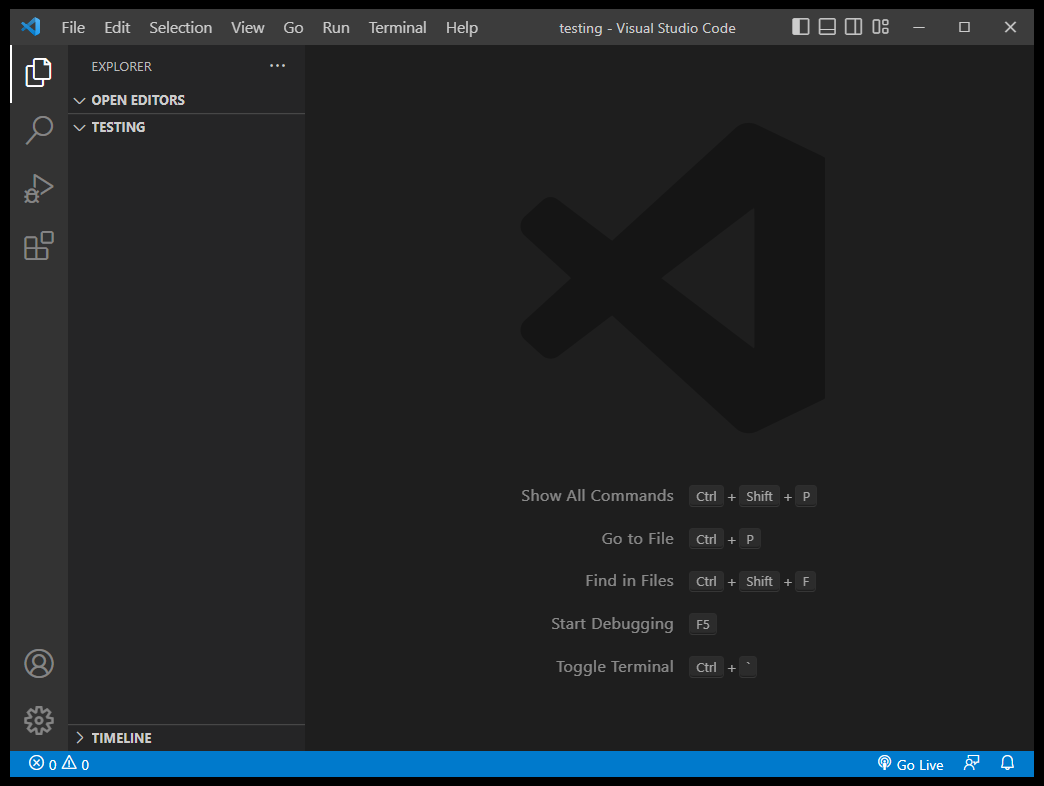
Now we can create an empty text file by clicking on the on the File item on the menu bar at the top of the screen, and then click on New Text File at the top of the pull-down menu that appears below it. An empty text file named Untitled-1 will appear.
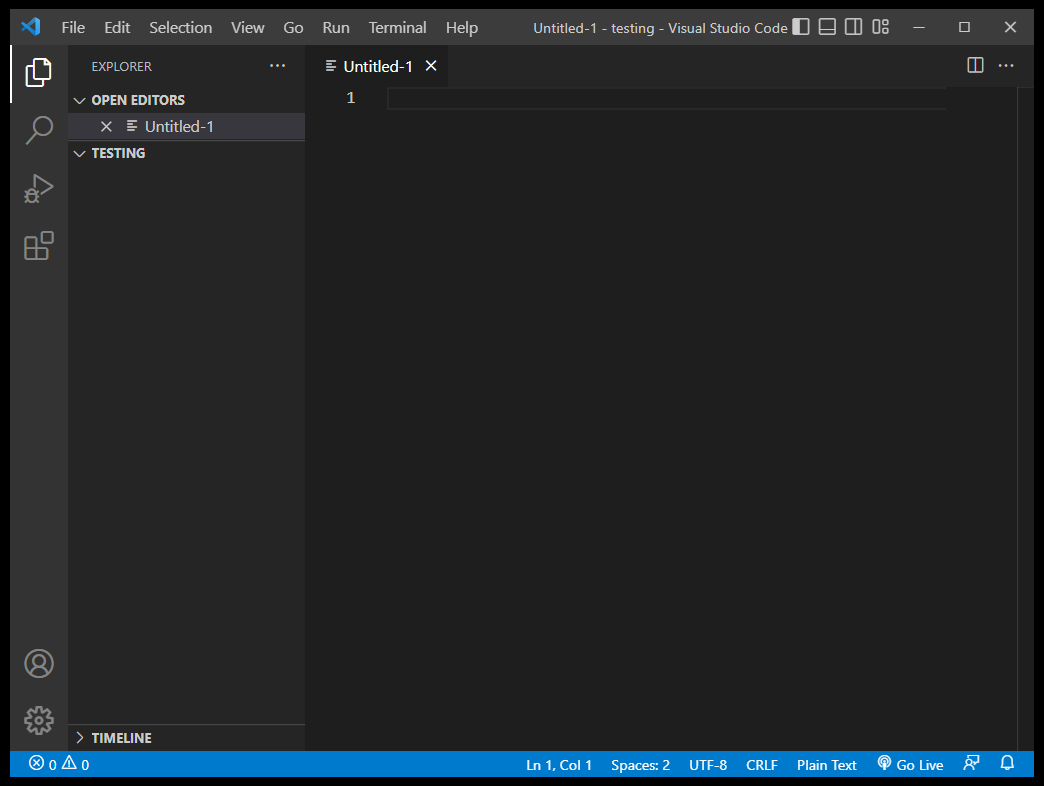
But we don't really want to create an empty text file. We want to create an empty HTML file, so we will rename this file to index.html. The way we do that is by clicking on the File item on the menu bar at the top of the screen, and then clicking on the Save As... item that is about halfway down the pull-down menu that appears below it. At this point, the file manager opens highlighting the File Name where we will type the name of the file as index.html and click the Save button. The name of the file will change and appear like it does in the illustration below.
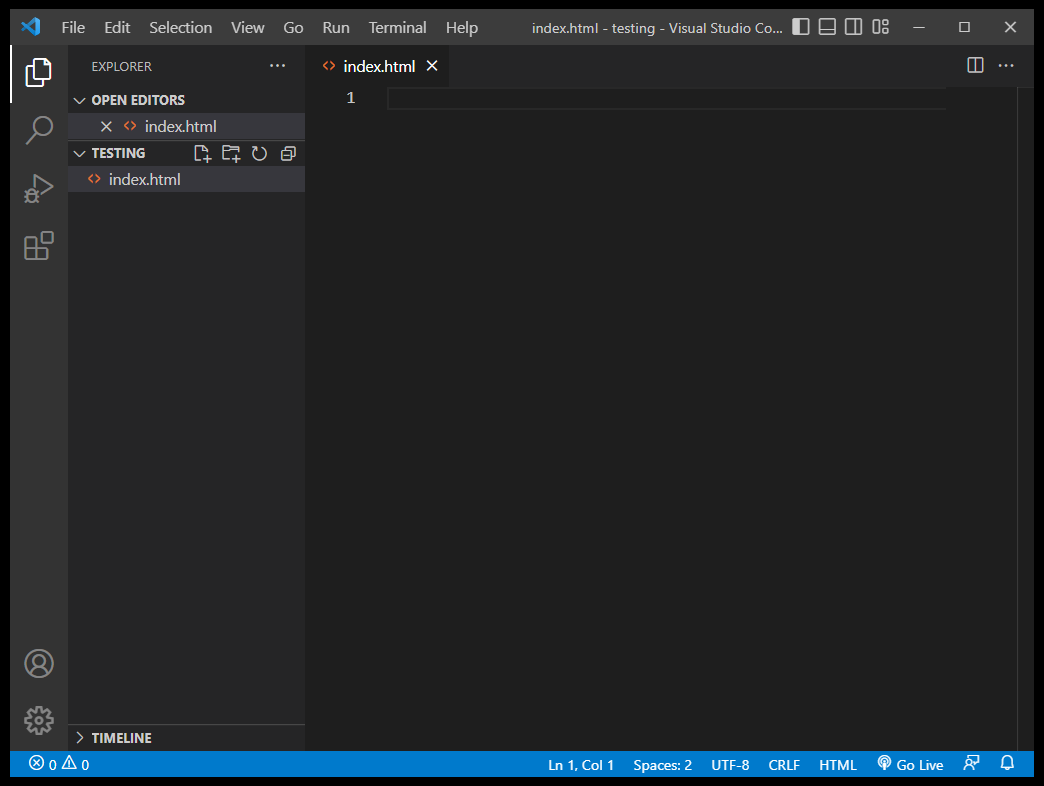
But the HTML file we've created is still an empty file, and we could begin typing code on line 1 in the pane that is open on the right side of the Explorer pane. However, we are going to let Emmet create some starter code for us! The way we do this is by two simple keystrokes. On line 1, we type an exclamation mark, and then we press the Tab key. This will generate a file that contains the HTML code shown below. What could be easier?
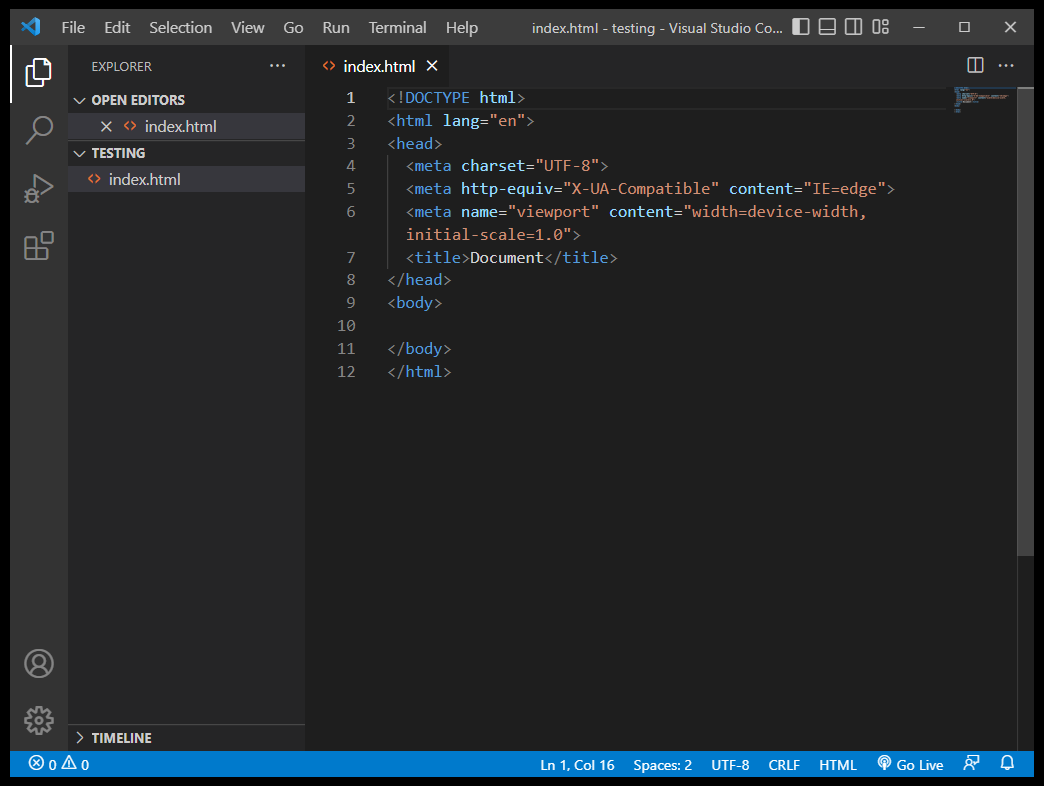
Important Note: Newer versions of VS Code do not create line 5 through Emmet as shown above. This line was once there to tell Microsoft's Internet Explorer web browser to behave as if it was Microsoft's Edge browser. However, Internet Explorer is no longer supported, and even Microsoft had to admit that developers writing new web code no longer need to include this line of code in the document head. So, just ignore this line of code if and when you see it.
This HTML is only starter code. Notice the blank line inside the document body on line 10. If you click on Go Live at the bottom of the screen, a boring blank white page will open. Nevertheless, we have a starter file ready for HTML content to be typed inside the HTML document body (more about that later).
But this is just the tip of the Emmet iceberg. Emmet is almost a programming language on its own, and a skilled programmer can save lots of keystrokes simply by employing many of Emmet's shortcut keystrokes (which are usually triggered by pressing the Tab key). We will revisit Emmet again when we get a little farther along. But for now, just know that Emmet exists. And if you want to know more about Emmet, simply click here for a 24-page Emmet Cheat Sheet that has way more information than we need to know at this point.
Testing Beautify
From here on out, we will use the term Beautify rather than the name of the extension we installed called JS-Beautify.
Once upon a time, there was an nice autoformatting extension called Beautify. It was very popular throughout the entire coding kingdom, but it was not being properly maintained as newer versions of JavaScript were released. For this reason, King Microsoft eventually deprecated it. And in order to stay on good terms with His Royal Highness, we will use the extension JS-Beautify and simply call it Beautify when the King is not around.
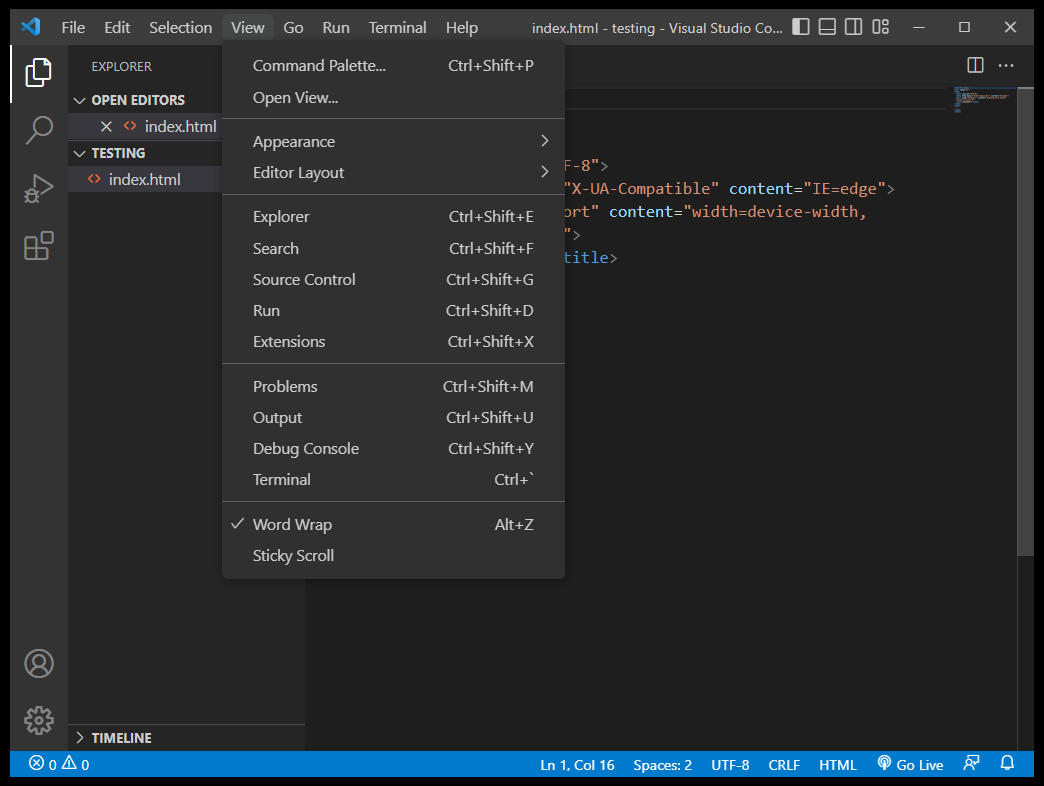
Now that we've discovered Emmet and have some starter code to play with, let's test out that Beautify extension we installed. We trigger that extension through the Command Palette which is an area of VS Code we have not explored yet. The Command Palette has vastly more capabilities than we will explore here today, but it allows you to search for and execute commands, and it even memorizes those commands you use most often. To invoke the Command Palette, simply click on the View item on the menu bar at the top of the screen. The Command Palette is at the top of the pull-down menu that appears below it. Click on that item to bring up the Command Palette.
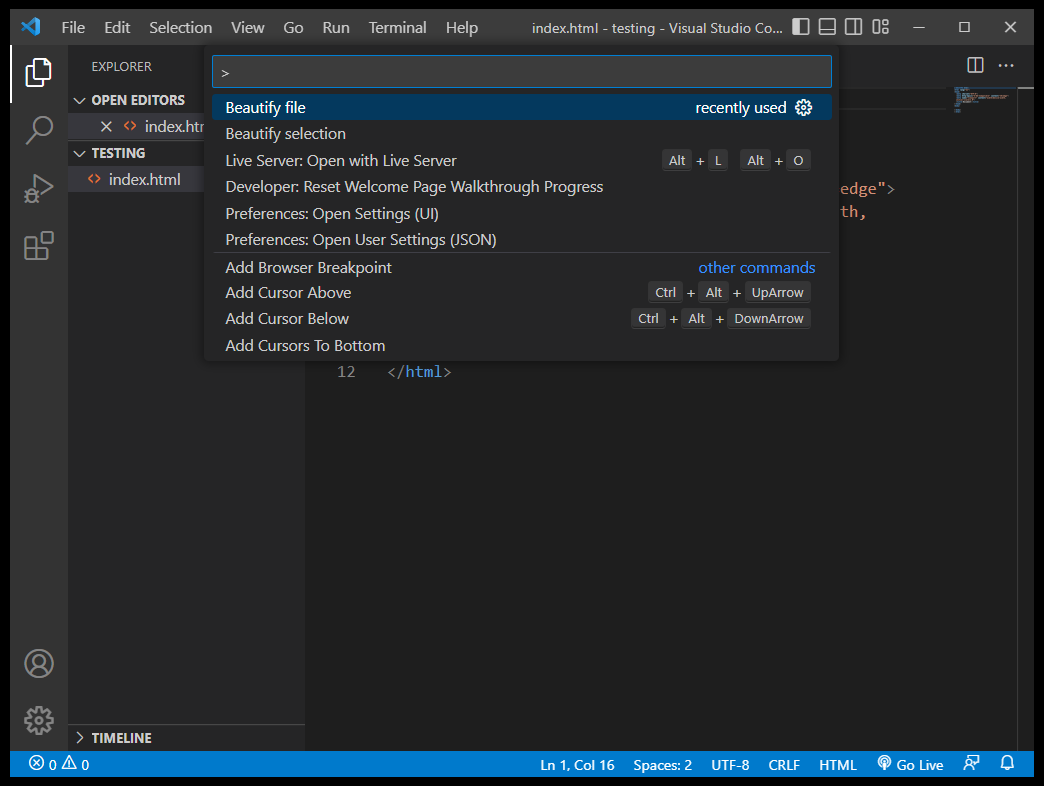
The commands you use most often will appear in an area at the top of the list. If you've never used the Command Palette before, then the commands will be listed in alphabetical order. However, Live Server can be invoked from the Command Palette, so you might find it listed at the top of the list as well. To find the command you want to use, simply type the name of it in the search bar provided at the top. If you type Beautify, and that extension was properly installed, then two suggestions will appear below the search bar: Beautify file and Beautify selection. You will find that you will most often just beautify your entire file, but you can narrow your beautification to only the current element you are working on as well. If you do that, the rest of the code in your file will be ignored. At this point, we will simply Beautify file.
After to do that, compare the beautified code listing the listing you had before, and you will see that 3 blank lines were added to separate the head and body sections from the html tags at the top and bottom (we will learn more about these tags later).
Beautify is an extension that autoformats your code. When you type your code in a hurry, it is easy to forget to indent a line or to add too many spaces to a line of code, and Beautify fixes these oversights in one quick and easy process. If you like, take a few minutes to "mess up" this code by adding tabs and spaces to various lines in this code listing, and then beautify the file to see them all those ugly changes fixed at once. Eventually, you will see the beauty (pun intended) of using a code autoformatter like Beautify. And just so you know, Beautify not only works on HTML code, but it also works on CSS and JavaScript code as well.
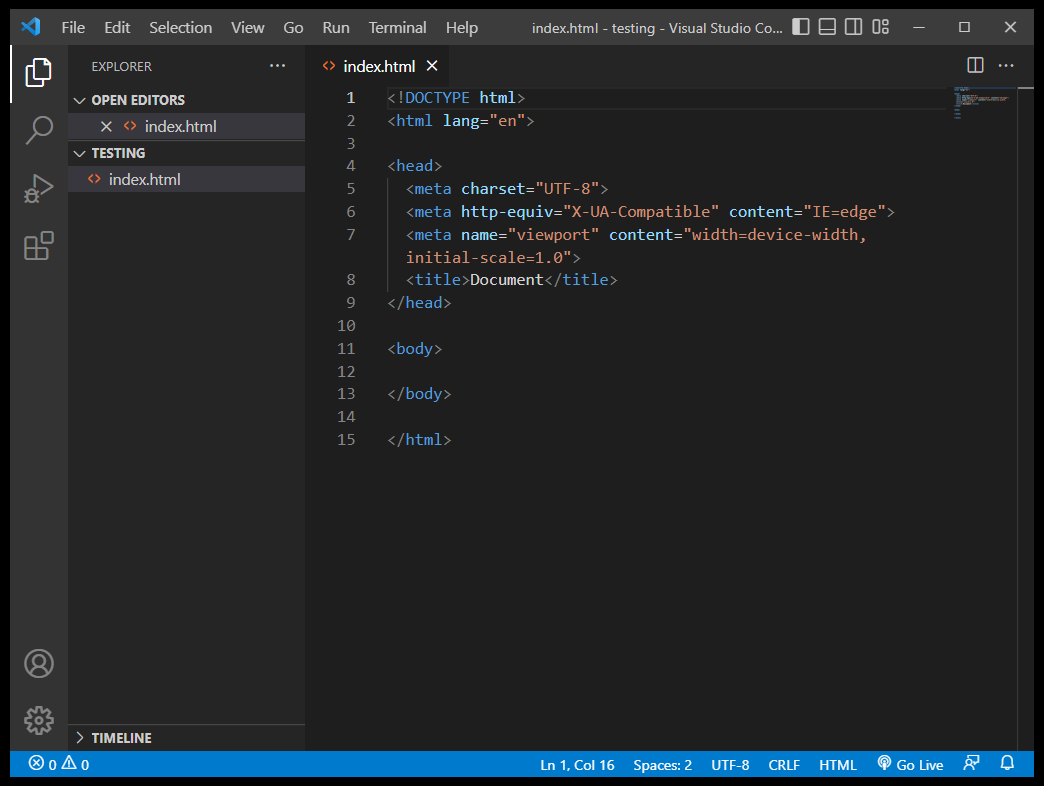
Important Note #1: Newer versions of VS Code do not create line 6 through Emmet as shown above. This line was once there to tell Microsoft's Internet Explorer web browser to behave as if it was Microsoft's Edge browser. However, Internet Explorer is no longer supported, and even Microsoft had to admit that developers writing new web code no longer need to include this line of code in the document head. So, just ignore this line of code if and when you see it.
Important Note #2: On line 10 above, you will see a blank line between the closing </head> tag on line 9 and the opening <body> tag on line 11. And we are getting way ahead of ourselves by talking about elements and tags now, which you will learn about as soon as you start the HTML Crash Course. Nevertheless, an HTML document has a head and it has a body, but it does not have a neck. And while having a blank line on line 10 looks nice, placing any code there would be considered technically incorrect. Web browsers are generally very forgiving and might display any code you placed there. But the bottom line here is: Please don't insert HTML code into the neck of an HTML document. It does not exist. Enough said.
Autoformatting
Before we end this lesson, let's talk a little bit about code indentation. Autoformatting is accomplished by using an extension to VS Code like Beautify or Prettier. An autoformatter indents our code by using the rules defined for indenting. And why do we use autoformatters? Their only purpose is to make our code easier to read. In essence, it beautifies it and makes it prettier. And that is only useful to those of us who write and view code. The web browser doesn't really care how it looks as long as it is all written correctly. Whether we are talking about HTML, CSS, or JavaScript, you could write all of your code on one long line, and the web browser would display it if it was written properly. For the most part, the web browser ignores large blank areas in our code that are technically known as whitespace.
Whitespace
Whitespace is/are those areas of code where there is no code. Most programming languages ignore whitespace, so you can jumble it up any way you like and it will still work (Python being the main exception to that rule).
To Select indentation, run your mouse over and click on the area at the bottom of the screen that defines the current indentation scheme. In the example below, it says Spaces: 2. When you click on that area, a menu will appear at the top of the screen. Again, we believe that selecting Indent Using Spaces is the best choice.
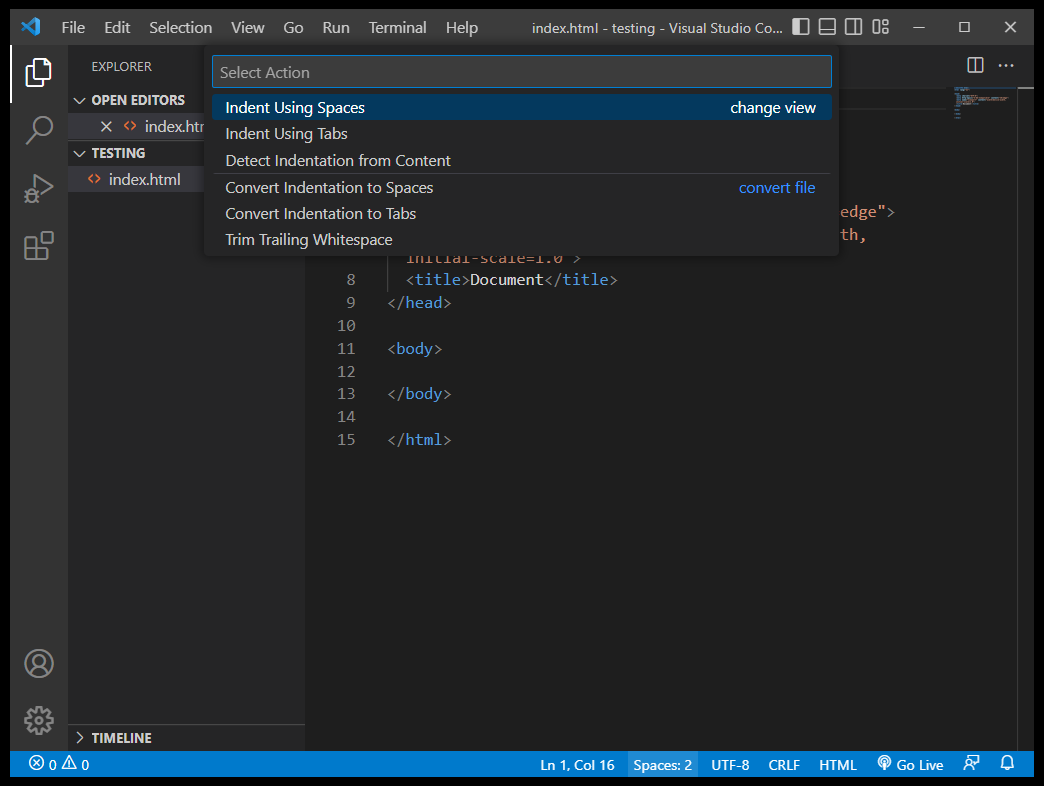
And when you click on that choice, another menu will appear that lets you select how many spaces or tabs to use. Even though it says 2 Configured Tab Size, it is configured for 2 spaces, not 2 tabs. That may seem confusing to some people.
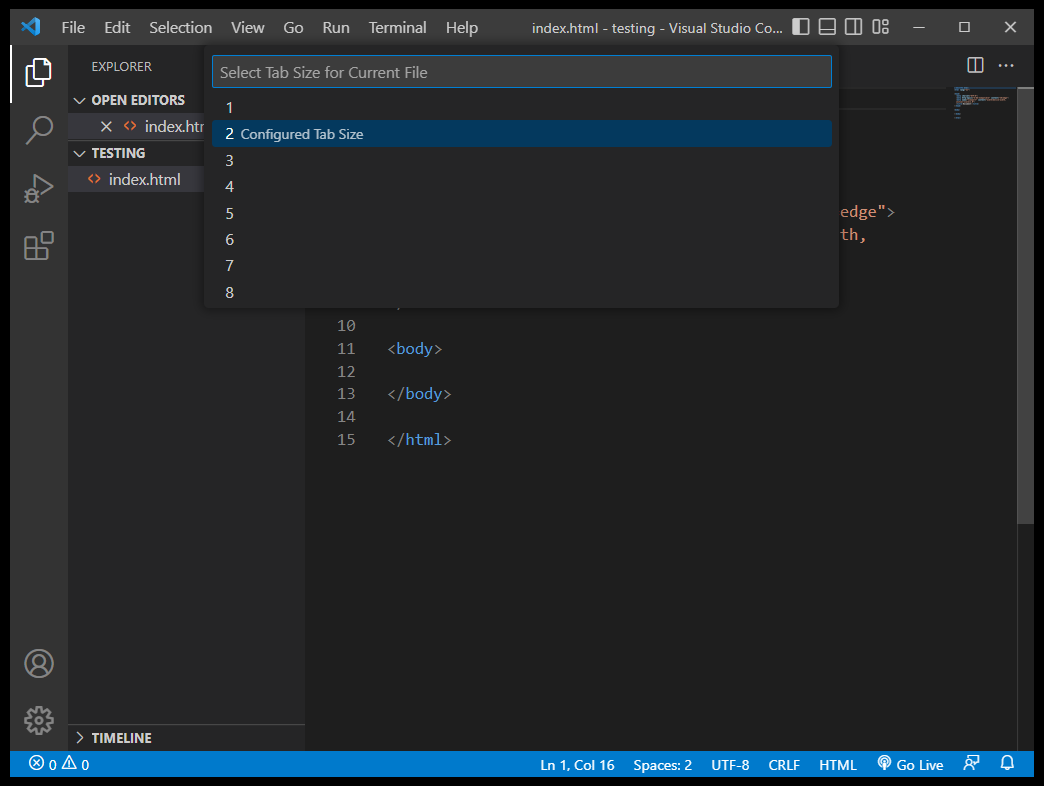
If these indentation settings match yours, then everything is properly configured and you are ready to move on. If not, there are ways to permanently change these settings, but that is an advanced subject that we would like avoid at this point in your web development lessons. For now, let's just move on.
Summary
We've covered a lot of ground in these lessons, and we haven't even really started to talk about HTML yet. However, let's quickly review what we've already done and learned, so that we know that it wasn't all just a huge waste of time.
- We made sure that we were using the right computer hardware for this task.
- We ensured that we could use our file manager to view Details and file extensions.
- We installed and configured Visual Studio Code for use as our coding text editor.
- We installed and configured the Beautify and Live Server extensions for VS Code.
- We made sure that Google Chrome was installed and configured as our default web browser.
- We made sure that we could view our projects in the Google Chrome browser using Live Server.
- We created a couple of test projects to make sure that everything we did above worked as expected.
- We learned about coding shortcuts using Emmet and about using Beautify for code autoformatting.
Now we have a choice to make. There is one more lesson in this section about deploying our projects using Netlify, but that is completely optional at this point. Perhaps a better use of your time would be to take the HTML Crash Course, and then at least start the CSS Coding Course. When you are ready and find a need for it, you can always return here and do the lessons on Netlify. Does that make sense?
Your Choice
Why would you want to learn about project deployment before ever really learning to write code for your projects? That's a great question. The best answer is because deployment allows others to see your projects on the Internet. Otherwise, you are the only one who can see these projects displayed on the web browser of your own computer.
Eventually, you will want to have a Portfolio Showcase that you can show to others, especially your friends, family, and most importantly, prospective employers and clients. To see an example of a portfolio showcase, click here. This webpage has links to 24 different web projects that you can view by simply clicking on them. When applying for a job, this can be even more useful that a resume, because it allows the visitor to view some of your original work.
In fact, even if you decide not to learn about project deployment right now, you can still download your very own starter portfolio showcase right now for future use! Then, when you finally have more projects to deploy, you can always add them to your portfolio showcase at that point.
For now, you can just copy this zipped file into the HTML Crash Course folder that you have already created inside your Documents folder. Of course, this is a compressed and zipped file that cannot be used until it is unzipped and opened using VS Code. In fact, if you already know how to do that, you will find that the Hello World project that we used for testing is already deployed and ready to view on the Internet! But we will soon get into how to unzip files and how to deploy your projects soon enough. For now, just save this file and be happy.
So here we are! Have you made you choice? Are you ready to start the HTML Crash Course? If so, you can click on the Graduate button below. Otherwise, you can select Part 7. Deployment from the pulldown menu on the right. This lesson will always be here later when you are ready for it.
So without further ado, let's dive directly into the first lesson of the HTML Crash Course.
But before we do that, let's graduate. Any objections?