Basic System Tools
Lesson 0
Part 5. Testing VS Code

Download Test Project and Extract
Now we are ready to download some code and test our abilities to use VS Code with both the JS-Beautify and Live Server extensions. Our first project will be (What else?) a Hello World website. To download this project to your computer's Downloads folder, click here.
Next, you will want to create a folder inside your Documents folder as a repository to hold all of the projects you download and create for this HTML Crash Course. In fact, HTML Crash Course seems like an excellent name for this folder. Now you can copy the hello-world.zip in your Downloads folder, and paste it into the HTML Crash Course folder you just created inside your Documents folder.
The next step is to extract all the files inside this compressed archive file called hello-world.zip. Depending on your operating system, there are different ways to extract files from a ZIP file.
If you are using Windows, simply right-click on the ZIP file, and then select and left-click on Extract All... from the pull-down menu. Then the files will be extracted to a folder called hello-world. What could be easier than that?
If you are using a Mac, simply right-click on the ZIP file, and then select Open With > and Archive Utility.app (default) and click on it, and then the files will be extracted to a folder called hello-world.
If you are using some version of Linux, then you are already a very savvy computer user and do not need any lame and superfluous explanations.
Our First Project
Finally, the fun begins! Now you can launch the VS Code application and click on the File item on the menu bar at the top of the screen, and then click on Open Folder... in the pull-down menu that appears. From here, you must navigate your way through your computer's file system to the Documents folder, and to the HTML Crash Course folder inside Documents, and then to the hello-world folder where the project resides. When you select that folder, click on the Select Folder button in the lower right side of your screen, and the project it will open in the Explorer area on the left side of your VS Code screen.
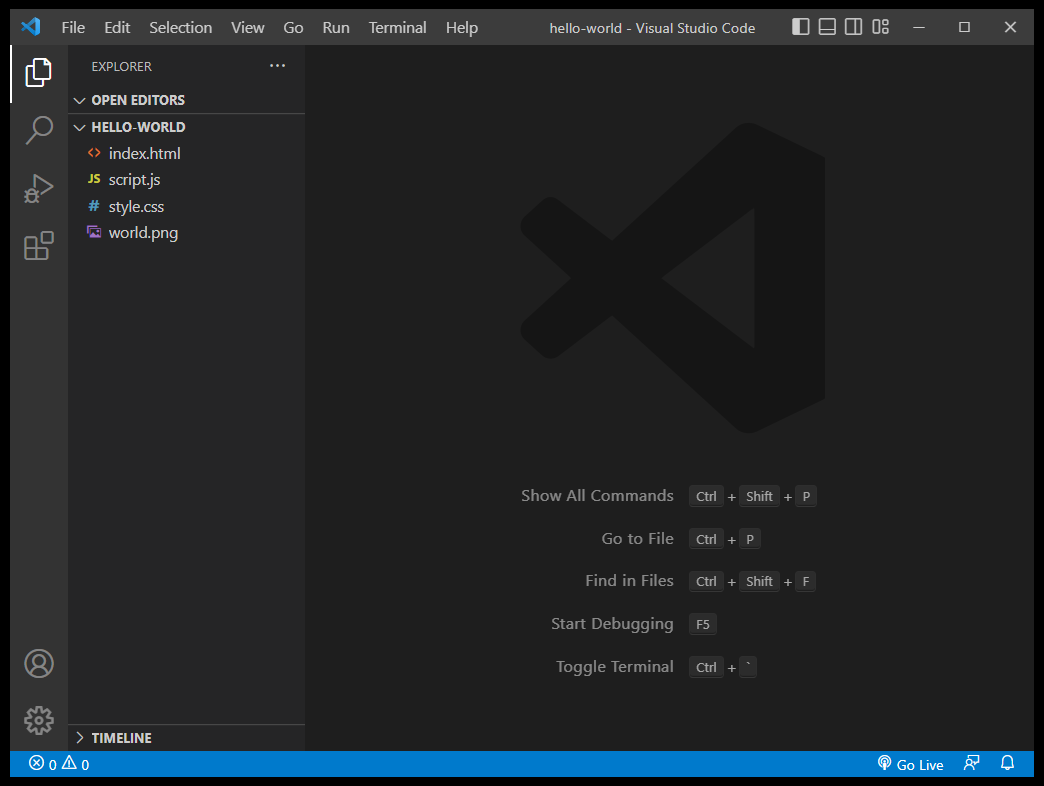
Notice that there are four files listed in Explorer area on the left side of the screen. You can click on each file to get a preview of what each file looks like on the right side of the screen. One is an HTML file, another is a JavaScript (or JS) file, another is a CSS file, and the last file is an image file in PNG format. Since we are learning HTML is this crash course, we will concentrate our focus on the first file called index.html.
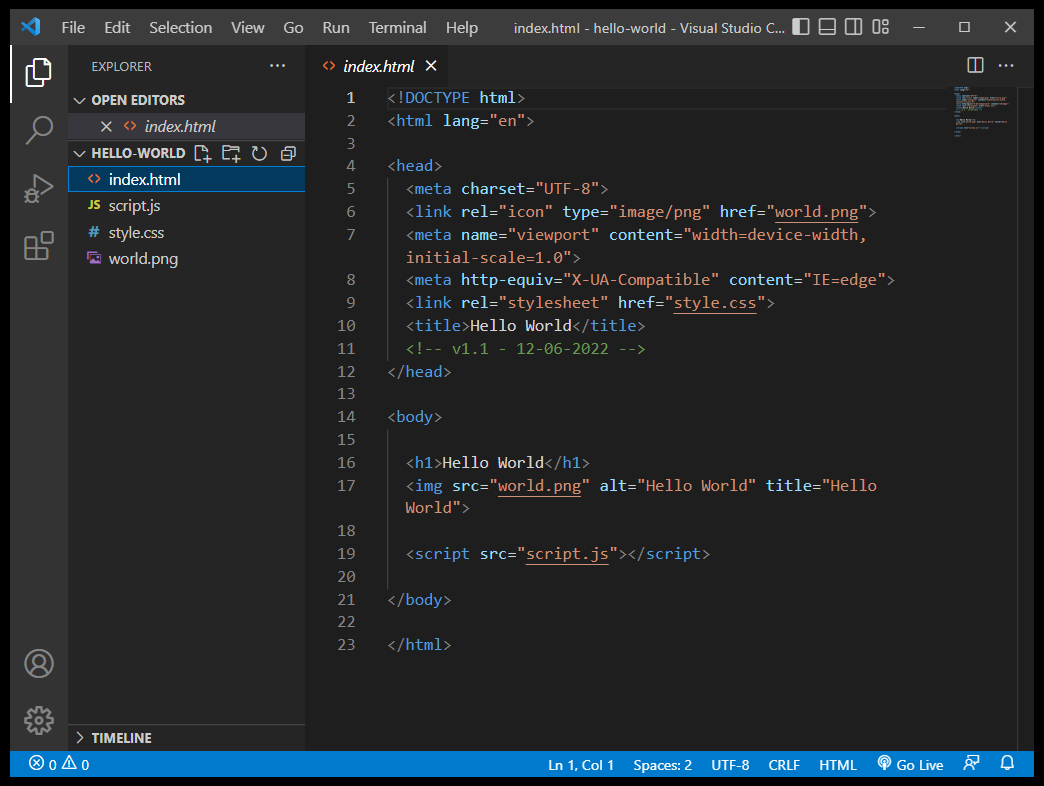
Now we need to test our ability to launch our web page in the default browser through the Live Server extension in VS Code. Notice that there is a link in the lower right side of VS Code called Go Live. If you did everything right while you were configuring VS Code, then that link will appear there. And if you click on that link, this project webpage should launch in your default web browser (which should be Chrome) and look something like this.
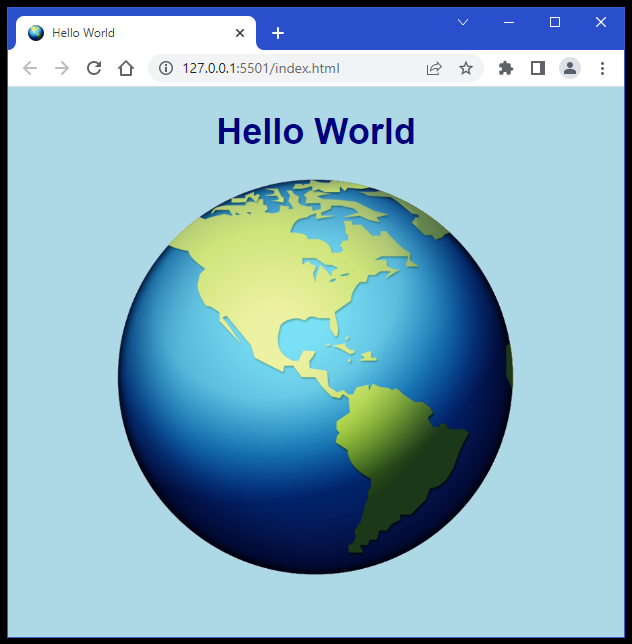
Kudos!
If you were able to get a browser screen that looks something like the one above, then congratulations are in order! This means that you did everything right while installing and configuring VS Code, the Chrome browser, and the Live Server extension in VS Code. If you did not get the Hello World screen, then something must've gone wrong while you were installing and configuring VS Code. Please take the time to review the steps you took, so you can fix these problems before continuing on. For those who were successful, you are ready to move on.